Luxa journal · manufacturing guide
Lip Gloss vs Lip Oil: Which Format Fits Your Beauty Brand?
Compare lip gloss and lip oil by shine, texture, colour and wear. Learn what to check in samples, applicators and packaging before launching your own line.
In this guide
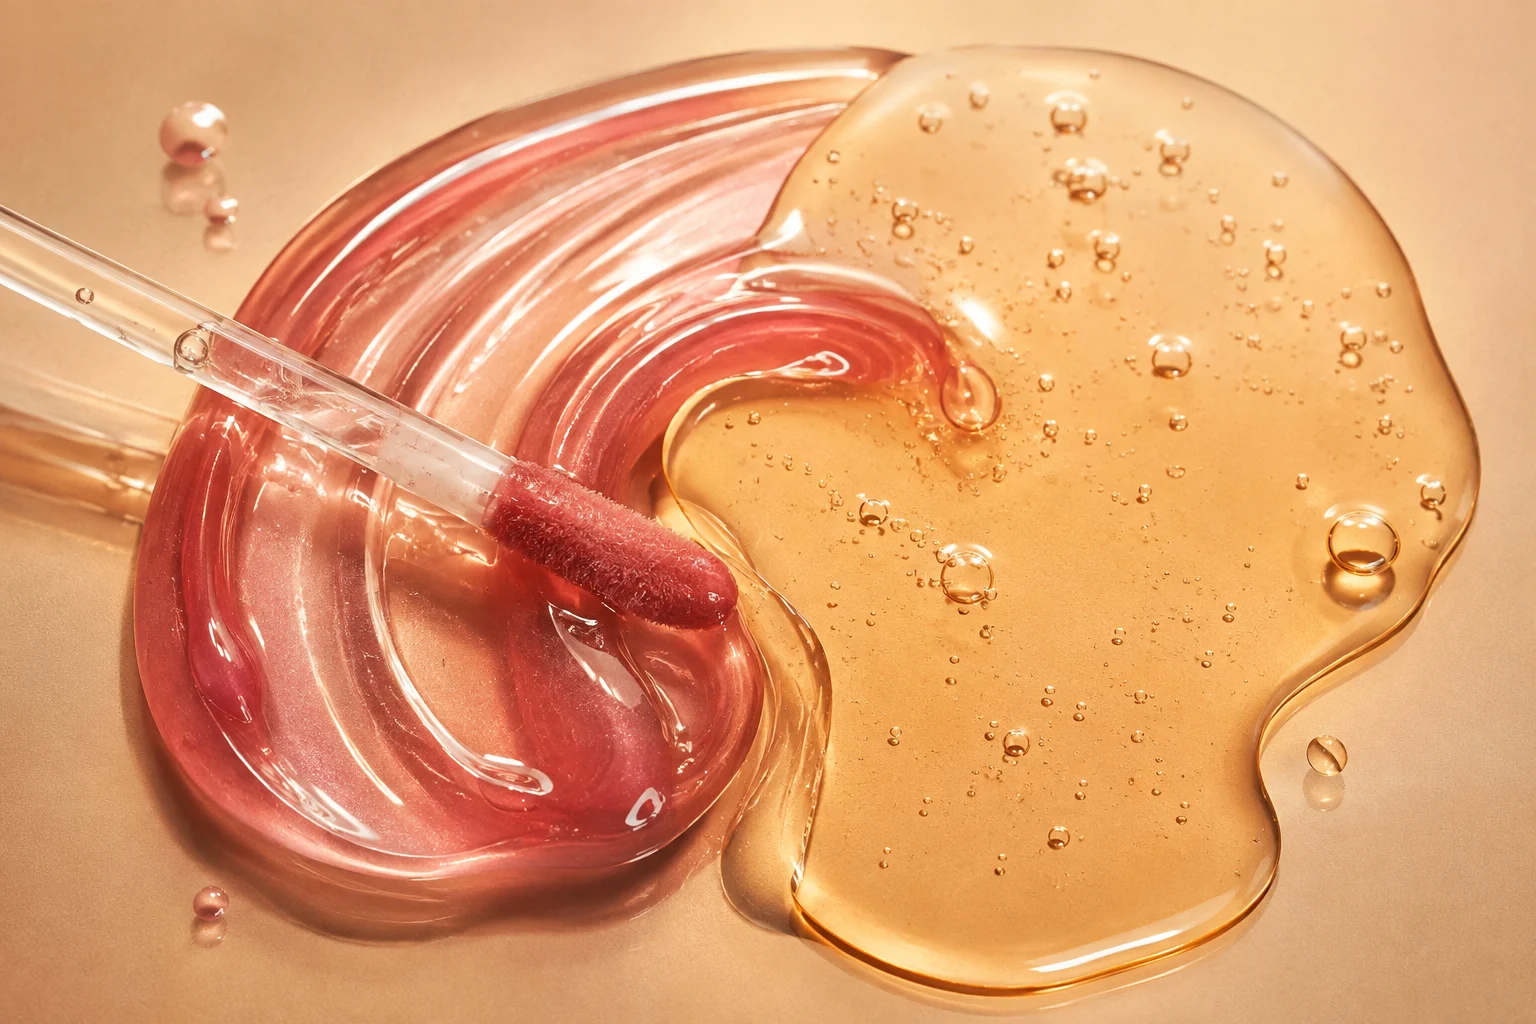
A lip gloss and a lip oil can look almost identical in the tube. On the lips, the difference may be obvious: one feels cushioned and glossy, while the other spreads easily and leaves a lighter sheen. For a brand choosing between them, those details matter more than the name. The best choice depends on what customers want to wear, how often they reapply and whether colour or comfort comes first.
Every product is shaped by its formula, claims, packaging, target market and sales channel. Use this guide to prepare a sharper manufacturing conversation, then confirm technical, legal and regulatory requirements for your specific launch.
At a glance
Guide essentials
Compare
Shine, slip, cushion and tint
Test together
Formula, applicator and wiper
Plan by
Shade and component quantities
Approve
Finished-pack samples
01
How lip gloss and lip oil differ
Lip gloss usually puts shine and colour first. Lip oil is more often sold for its conditioning feel and ease of reapplication. There is plenty of overlap, though. Some glosses feel light, some oils feel rich, and hybrid formulas sit somewhere between the two. The sample tells you more than the label.
When comparing lip gloss with lip oil, look at shine, colour payoff, tack and movement around the lip line. Press the lips together, add a second layer and check the feel later in the day. A formula that looks beautiful in a fresh swatch may be less pleasant after several touch-ups.
Be specific about what matters most. “Non-sticky, glassy and long-lasting” sounds appealing, but the team may need to balance those qualities. A reference product helps: explain which parts you like and which you would change.
| Decision | Gloss-led brief | Oil-led brief |
|---|---|---|
| Primary promise | Visible shine and optional colour payoff | Comfortable glide and a conditioning feel |
| Texture review | Cushion, tack and film thickness | Slip, richness and movement |
| Colour review | Clear, sheer, shimmer or stronger pigment | Clear or tinted, depending on the concept |
| Packaging review | Dose, stringing and neck cleanliness | Dose, leakage and closure performance |
02
Where does it fit in the lip routine?
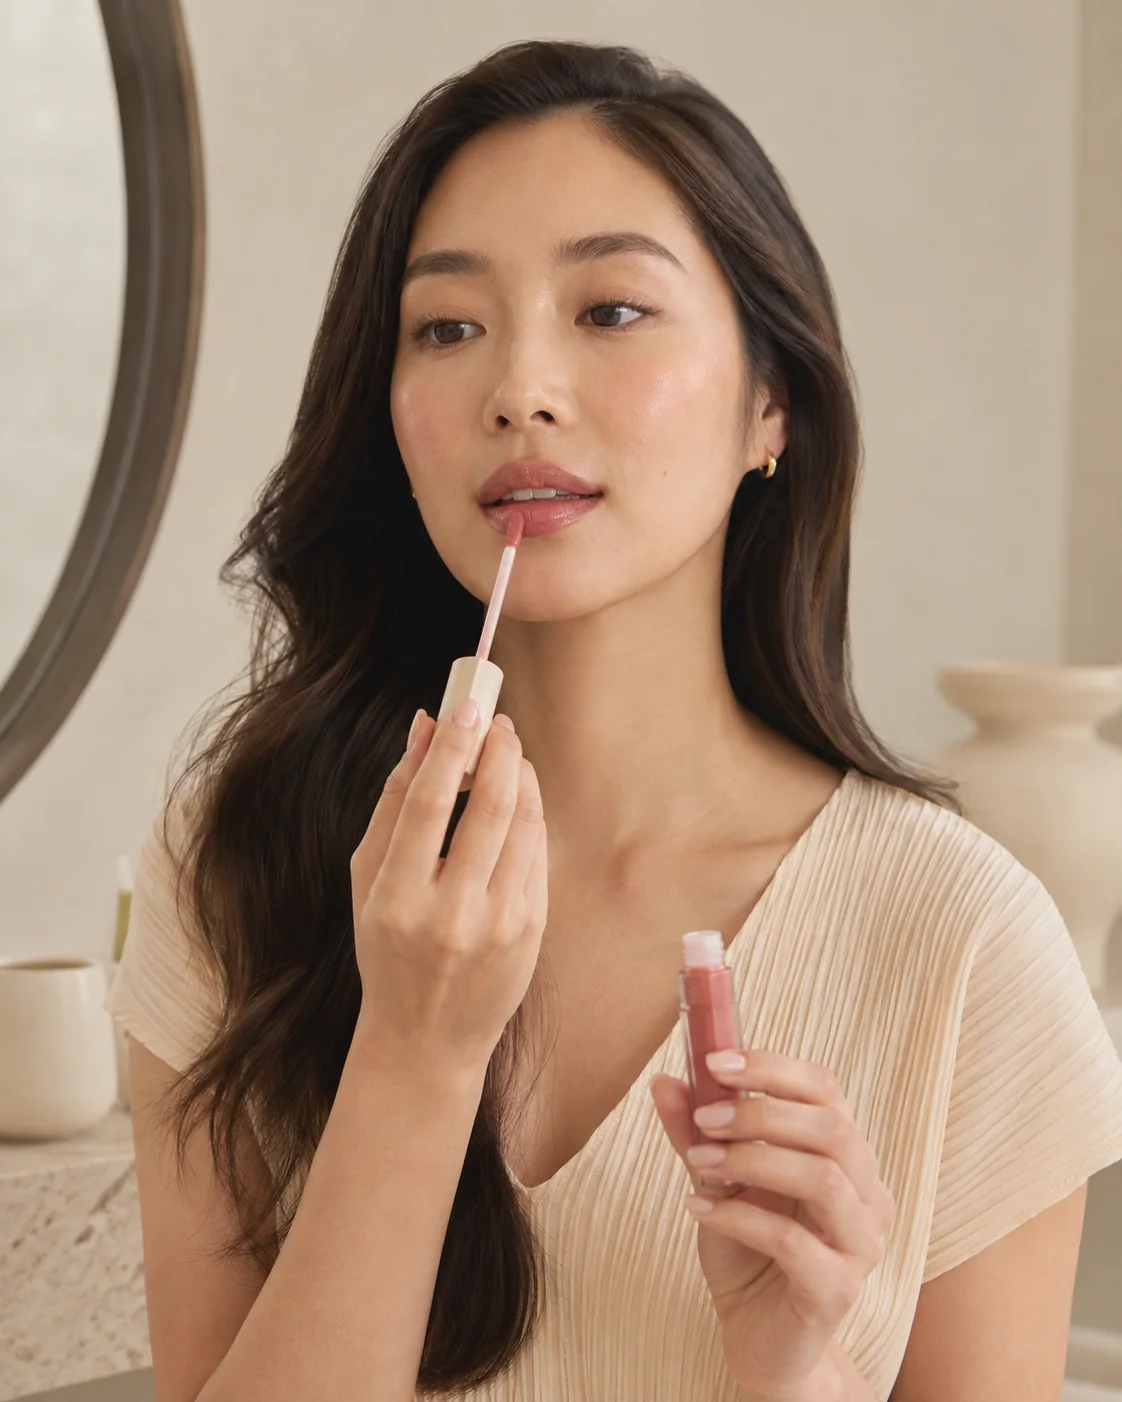
A gloss worn over lipstick needs to spread without disturbing the colour underneath. A standalone tint needs enough colour to look good on lips with different natural pigmentation. An everyday lip oil may need a lighter feel because the customer will reapply it often.
If you plan to sell both a gloss and an oil, customers should be able to tell why they would choose one over the other. Similar textures, shades and claims make that difficult. One well-developed product may be a better first launch.
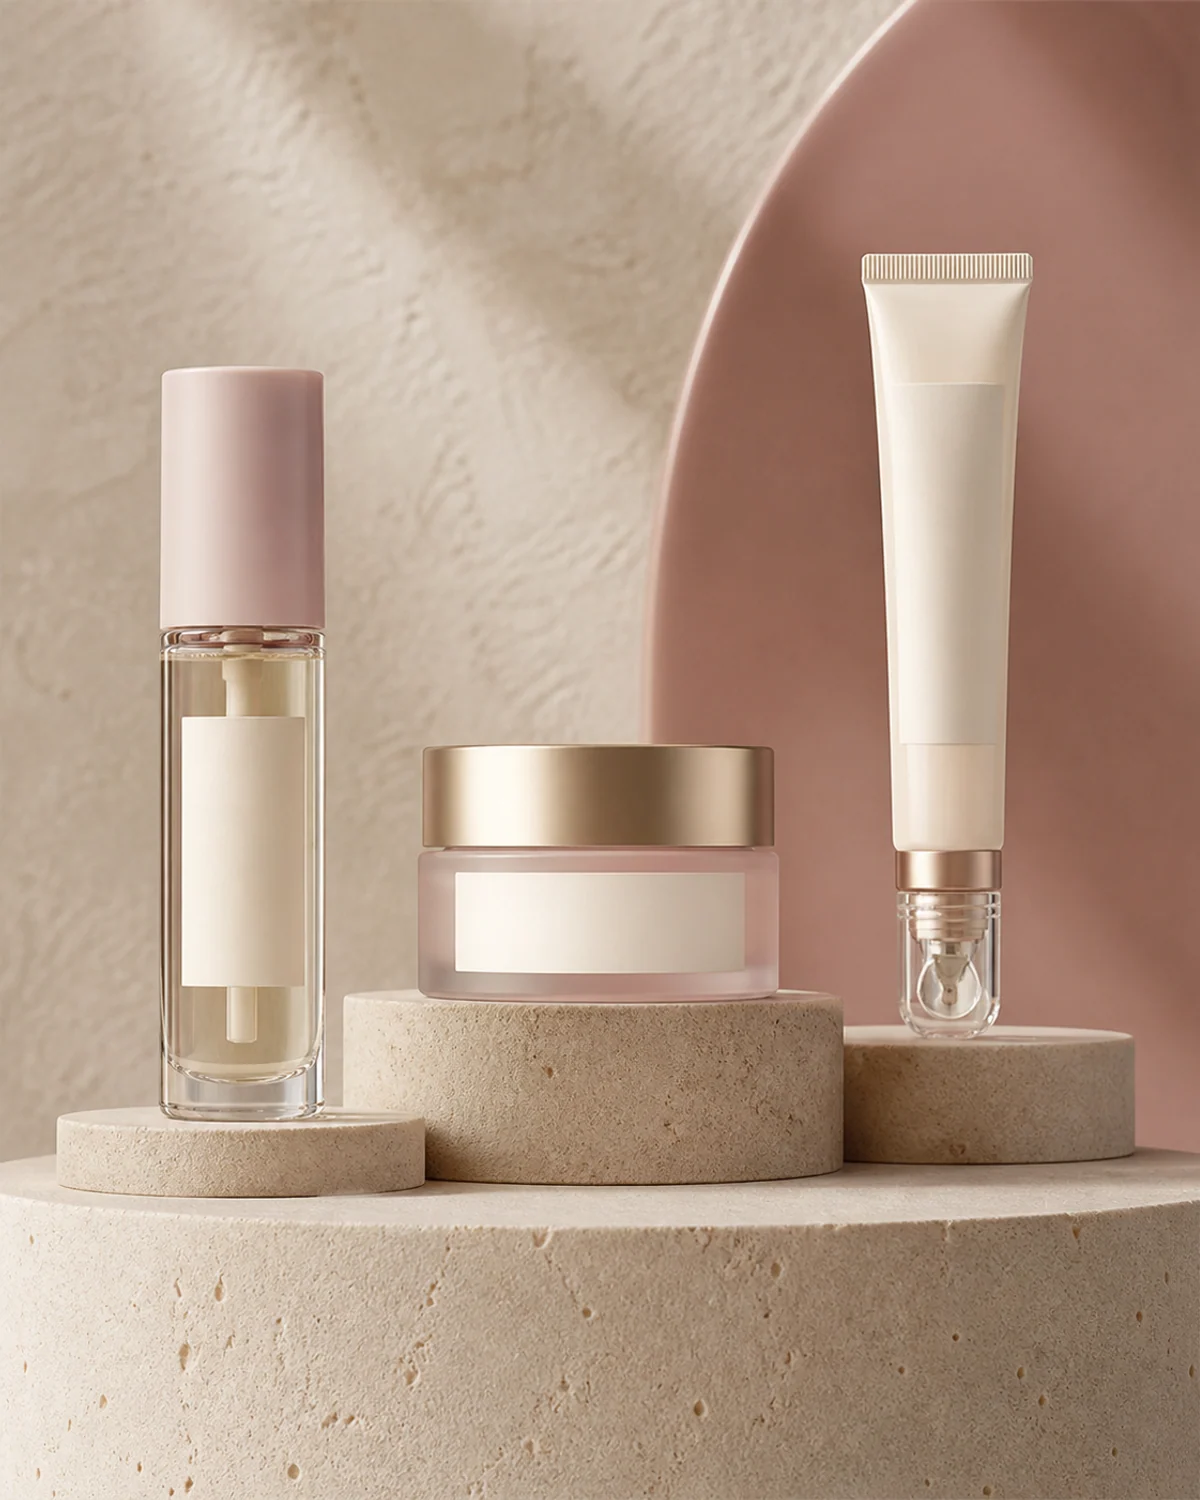
A matching lip liner offers another way to build a lip collection. Try the pair together: the liner should define the edge, and the gloss should glide over it without dragging the colour out of place.
03
What to look for in samples
Label every sample with its formula code, shade and applicator. Apply the same number of passes when comparing them, and record the first impression separately from how they feel after wear. “Too sticky compared with sample B after two coats” gives the formulator something useful to work with.
Ask people who resemble your target customers to try the samples under an appropriate testing plan. Keep lighting and lip preparation consistent, and obtain consent for photographs. Record awkward moments too: a messy tube neck or an applicator that carries too much product can matter as much as the finish.
If the colour is right but application is messy, check the applicator before changing the formula. Sensory feedback helps refine the product; safety assessment remains a separate task for qualified professionals.
- Reference product and the specific characteristic to match.
- Formula and shade code for every sample.
- Shine, tack, glide, pigment uniformity and edge behaviour.
- Application over bare lips and intended supporting products.
- Clear approval, revision or rejection for each criterion.
04
Getting the applicator and tube right
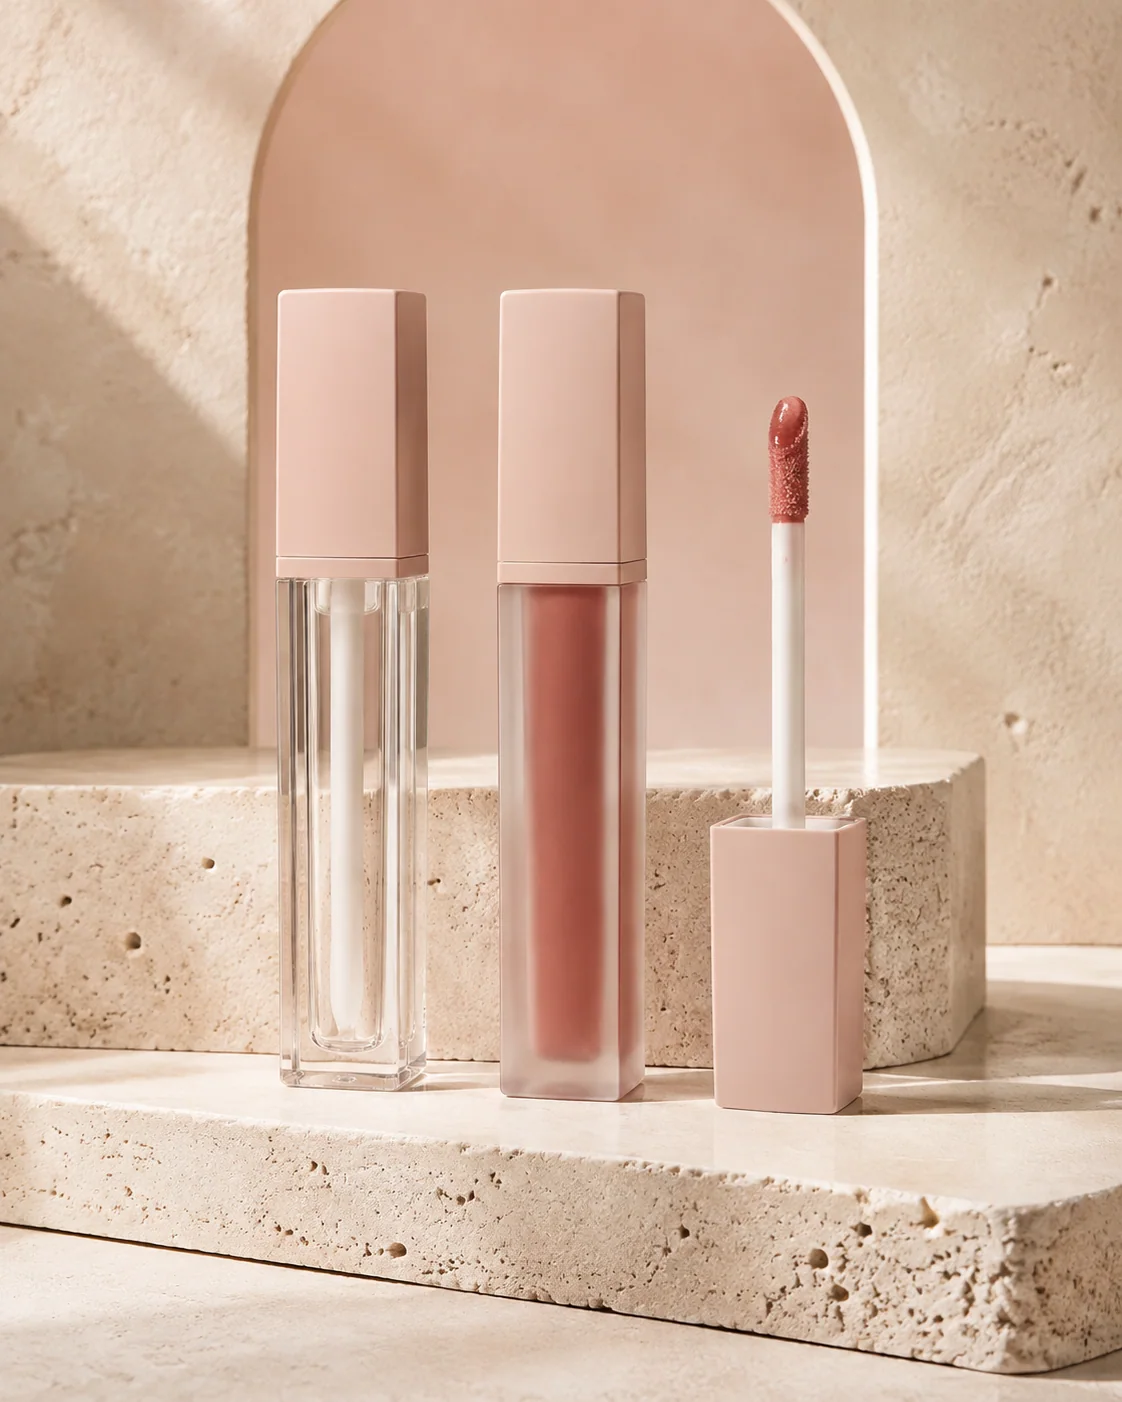
The doe-foot shapes application, while the wiper at the tube opening controls how much product stays on the wand. Check whether the tip reaches the corners of the lips, whether withdrawal feels comfortable and whether the neck stays clean. An oversized applicator can be awkward if it picks up too much.
Make these checks with a filled tube. Open and close it repeatedly and review storage and leakage under the conditions agreed with the technical team. Compatibility and stability testing should cover the exact formula and tube you plan to sell.
Good packaging design also makes shades easy to identify. Similar nude colours need readable labels on the tube and carton so customers—and the team packing orders—can tell them apart.
05
Checking colourants and claims
For a US launch, FDA colour-additive guidance distinguishes lip use from general external use. Check each colourant’s permitted application and any certification requirements before approving shades.
Put proposed claims beside the formula specification. “High shine” and a specific wear-time claim need different support. Wording about repairing damage or changing lip structure needs careful review before it reaches a carton or a creator’s script.
Claims such as “natural”, “clean” or “vegan” also need a clear meaning and supporting records. Include ingredient declarations, test reports and proposed label wording in the quality and compliance review before approving the artwork.
06
Planning the first order
Ask for a quote by shade, with formula, tube, decoration and carton minimums listed separately. A total order quantity can hide a large commitment to individual colours or custom components. Include your target price, market, preferred texture and expected quantity per shade.
Private label production may suit a product built on an established base. ODM development may be a better fit when you want a new texture or a more unusual formula-and-applicator combination. Confirm what the agreement covers, including sample revisions, testing and formula ownership.
Before ordering, check that the approved shade codes, tube, labels and test requirements all refer to the same version. If you are ready to discuss a lip product with LUXA, bring those details and a reference sample. They are more useful for a first quote than a mood board alone.
Make the next step useful
Bring the right details to your first product conversation.
Share your product category, target market, packaging direction, expected quantity and timing. Luxa can help turn those inputs into a more practical development route.
Discuss your product brief